How to Deploy a Static Site With Netlify Drop (Under 10 Minutes)
Leave with: a live static site on your custom domain with free HTTPS, deployed in under ten minutes.
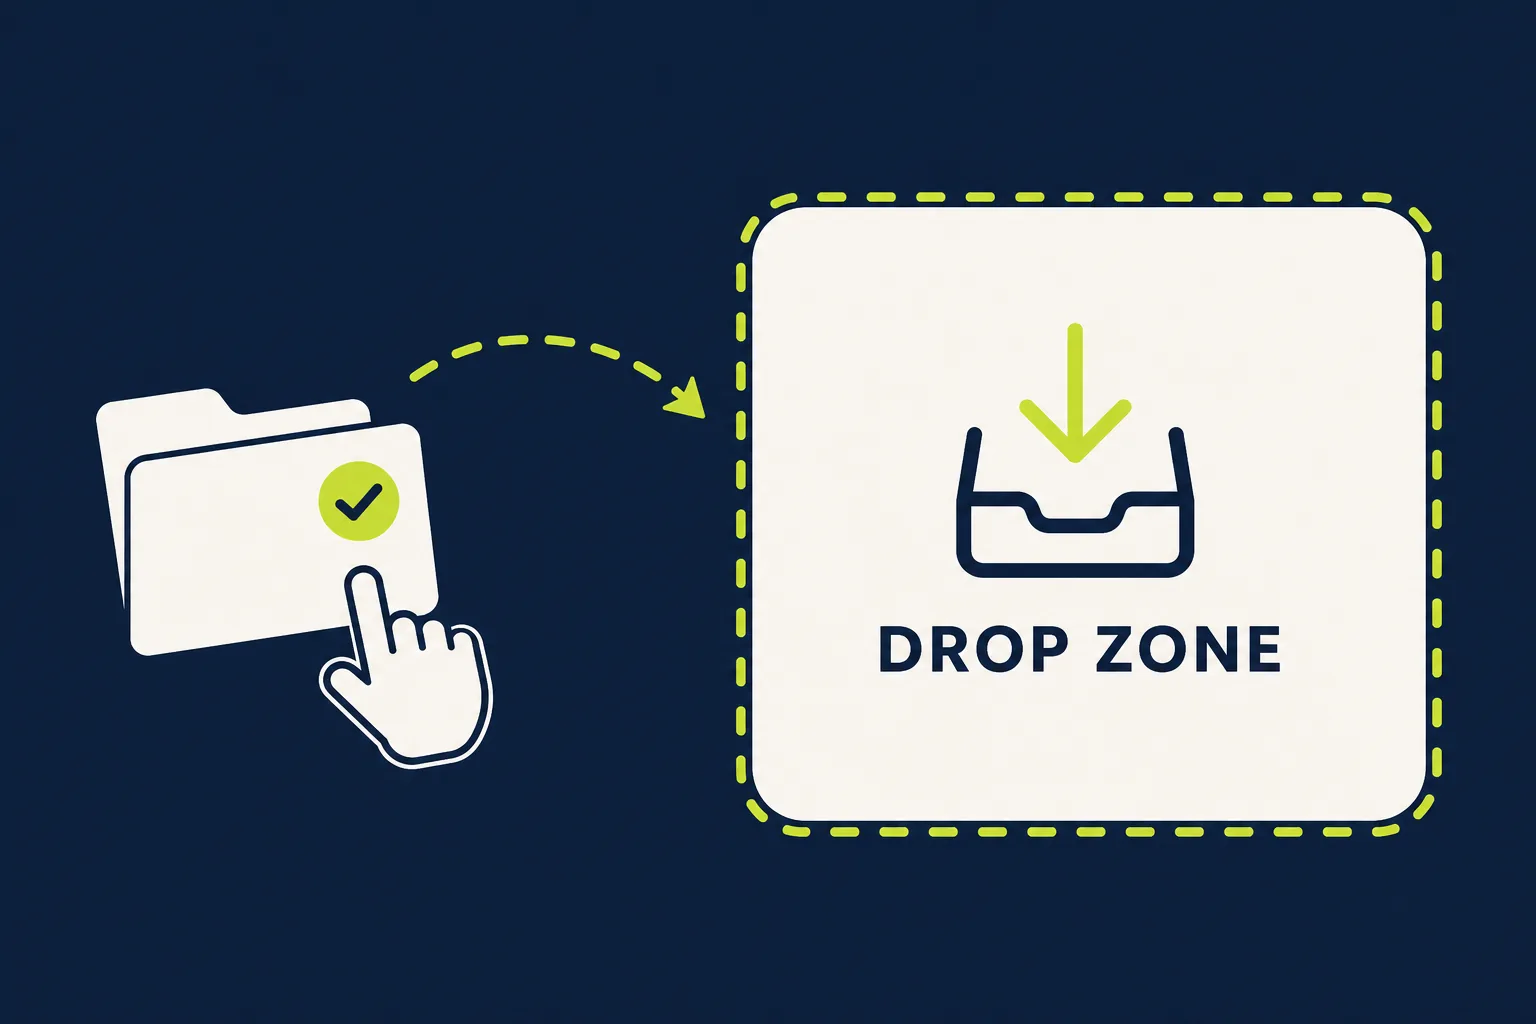
Your site exists as five HTML files in a folder on your computer. Until a stranger with a phone can type a URL and see those pages, it is a draft, not a site. Netlify Drop is the free, drag-and-drop way to fix that in under ten minutes — this guide walks you through the whole thing, click by click, and hooks your custom domain to it.
What Netlify Drop (and a Static Site) Really Are
A static site is one where every page is a finished HTML file the server hands to the browser as-is — no database, no login, no dynamic build. Your affiliate site is exactly that: a handful of files with all the content baked in. Static sites are fast, cheap to host, and almost never break. Netlify Drop is the free service built for exactly this use case: you drag a folder onto a web page and get a live URL. Free means genuinely free — no trial that charges next month, no credit card. The free tier is plenty for a five-page static site. [VERIFY — recheck current Netlify free-tier limits on publication day.]
Why are you doing this and not your AI agent? Two honest reasons. First, the hosting account is a publishing credential tied to your identity — the agent should not hold the login that puts your site on the open web. Second, the deploy step is the moment you confirm the site actually loads, a check only you can do. The agent wrote the files; you put them where the world can see them.
Step 1: Open the Drop Page and Sign In
Open a browser and type app.netlify.com/drop — type the URL, don't click a search result, so you know you are on the real site. The drop page has a large dashed box in the middle with text about dragging your site folder in. The /drop URL is viewable without login, but to actually deploy you'll sign in: click "Sign up" or "Log in" [VERIFY] and use your real email — ideally the same one you used at your registrar, so all your site accounts point at one inbox. Netlify supports email plus password, GitHub login, and Google login. Pick one you can recover, and save it in a password manager.
Step 2: Drag Your Folder Onto the Drop Zone
This is the whole trick. In your computer's file browser, find the folder that contains your five HTML files — index.html, about.html, disclosure.html, editorial-policy.html, and one article file. Drag that folder onto the dashed box. Two details matter:
- The folder must contain the HTML files directly inside it, not nested one level down. If you see
my-site/index.html, drag themy-sitefolder, not the folder that containsmy-site. - If drag-and-drop fails on your device (some systems treat the drag as a copy), click the drop zone instead and use the file picker to select the folder.
After a few seconds, Netlify will name your site something auto-generated — a URL like gentle-otter-9a2f3b.netlify.app [VERIFY] — and show a "Site is live" message. That URL is live on the open web within about a minute.
Step 3: Confirm the Site Loads
Click the URL Netlify shows you. You should see your home page. If you see a Netlify splash page instead, Netlify didn't pick the right folder: go back, confirm the five HTML files are at the root of the folder you dragged, and drag it again. Also confirm on your phone, on cellular data — that's the real test a reader will pass. This confirmation step is not optional; an empty site is the most common first-deploy failure.
Step 4: Rename Your Fallback URL (Optional but Recommended)
Netlify auto-names your site randomly. You can rename it: in the Netlify dashboard, open your site and go to "Site settings" → "Change site name" [VERIFY]. Pick a short name that is unlikely to be taken — for quietkitchen.com, try quietkitchen-net. Your URL becomes quietkitchen-net.netlify.app. Keep this URL even after you set up your custom domain. It is your permanent fallback: if your DNS ever breaks, if you are mid-move, if the registrar is having a bad day, the .netlify.app URL still loads. It's the safety net you forget about until the day you need it.
Step 5: Add Your Custom Domain
Now you tell Netlify about the .com you bought. In the Netlify dashboard, open your site, then go to "Site settings" → "Domain management" → "Add custom domain" [VERIFY]. Type your domain — quietkitchen.com — into the box, click "Verify", then "Add". Netlify checks that the domain is owned and then shows you the DNS record you need to set. Copy the value exactly as Netlify displays it; do not edit it.
For Netlify Drop, the record is usually a CNAME — a "nickname" record saying the host handles the address. The host field says www, and the value is your *.netlify.app URL (sometimes with a trailing dot; copy it exactly). If your registrar won't allow a CNAME on the bare domain (quietkitchen.com without the www), Netlify will also show you an A record with an IP address. Copy the IP, not the example.
Step 6: Point Your Registrar's DNS at Netlify
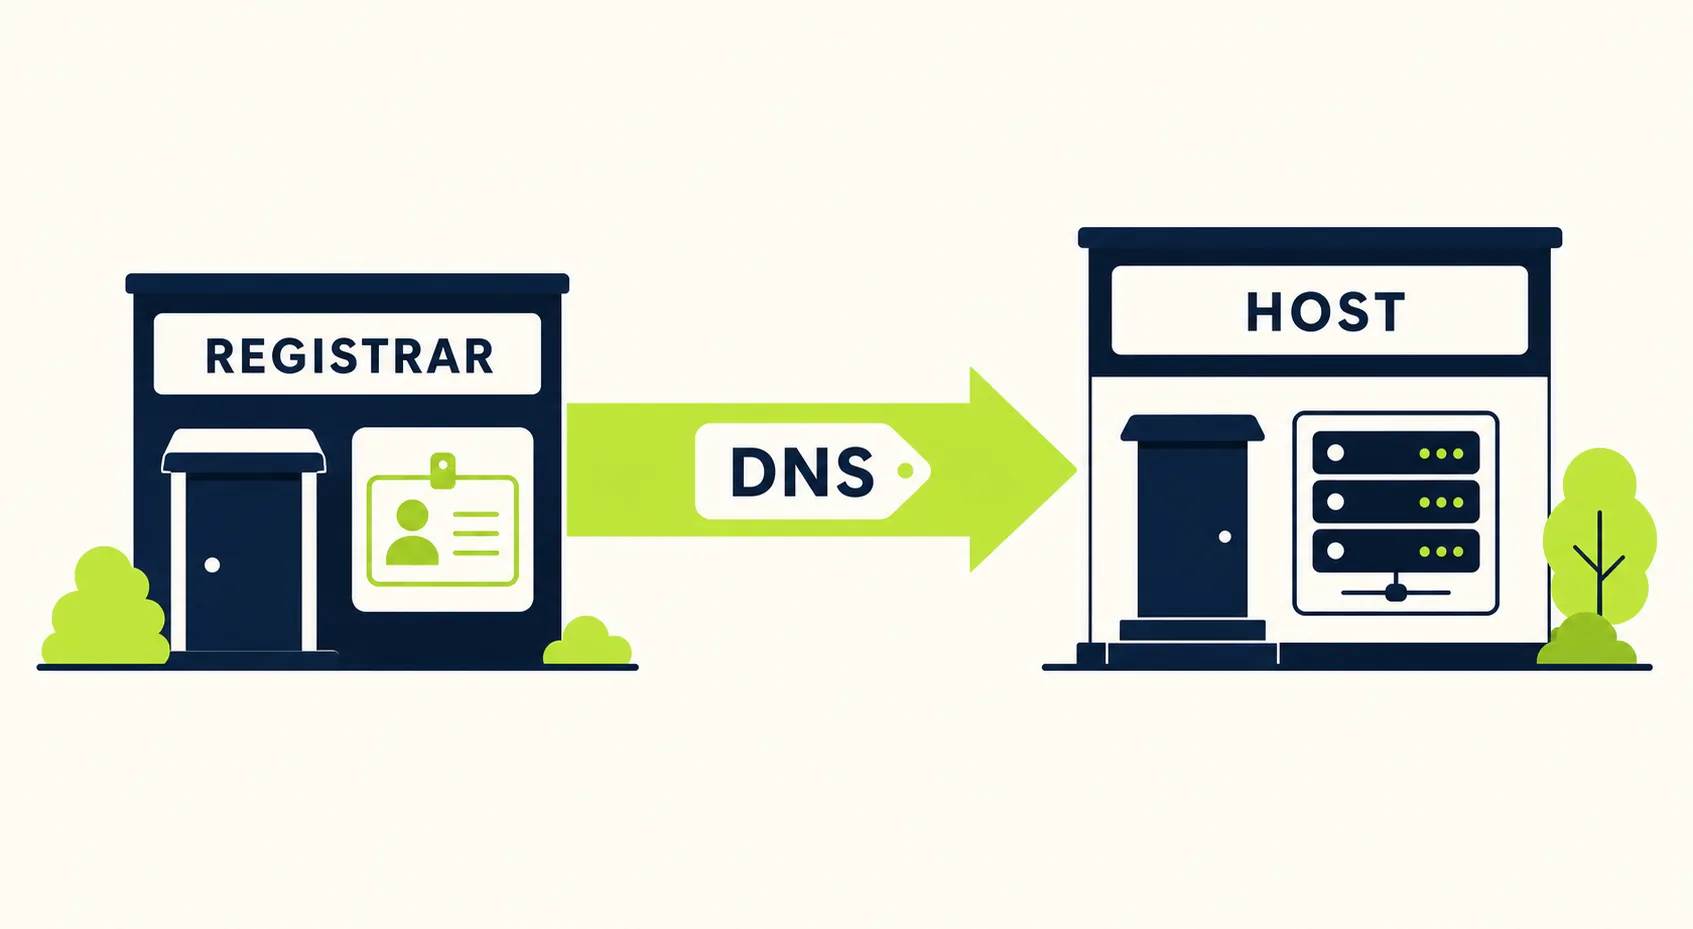
This is the part where the host and registrar finally meet — the whole job is one DNS record pasted once, in two places. Log into the registrar where you bought the domain (Porkbun, Namecheap, or Cloudflare). Find the "DNS" or "DNS Records" section of that domain's settings — look for "DNS," "DNS Records," "Manage DNS," or "Advanced DNS." [VERIFY] Then:
- Click "Add record".
- Set the type to what Netlify told you —
CNAMEfor thewwwrecord. - For the host/name field, type
www. - For the value / target / points to field, paste the exact value Netlify showed you.
- Save.
If Netlify gave you an A record for the bare domain, add that too, with the host field blank or @. This is the most common source of “my www works but my bare domain doesn't” — they are two separate records and both are needed. Do not touch NS (nameserver) records unless Netlify's instructions specifically say to — changing NS is a heavier move, and the wrong change can break your domain for hours. A CNAME is enough.
Propagation takes anywhere from five minutes to a few hours — rarely up to 48 [VERIFY]. Do not panic if the URL does not load instantly. Try again in fifteen minutes, then in an hour. If it still isn't resolving after a day, re-check the record and contact the registrar.
Step 7: HTTPS Is Automatic
You do nothing for HTTPS. Once the custom domain resolves to Netlify, Netlify issues a free TLS certificate for your domain — through Let's Encrypt [VERIFY] — and the browser shows the padlock. You do not upload a certificate, pay for one, or renew one. If you bought an SSL certificate from your registrar in Chapter 12, that was a waste of money: the free one from Netlify is the one readers' browsers see. If the padlock doesn't appear immediately, wait a few minutes and refresh — certificate issuance can take a few minutes after DNS resolves. If it's still not there after an hour, check the DNS record is correct (a missing trailing dot is a common cause of the "almost works" state).
Updating the Site Later
Updates are as simple as the first deploy: drag a new version of your folder onto the same /drop page, and Netlify will ask "Deploy to existing site?" [VERIFY] — click yes. The site updates in seconds; no compile, no build, no approval. The one rule: always start with the file on your computer. Do not hand-edit pages in Netlify's dashboard — your local file is the source of truth, and the next drag-drop deployment will overwrite any hand-edit.
The Day-One Deploy Checklist
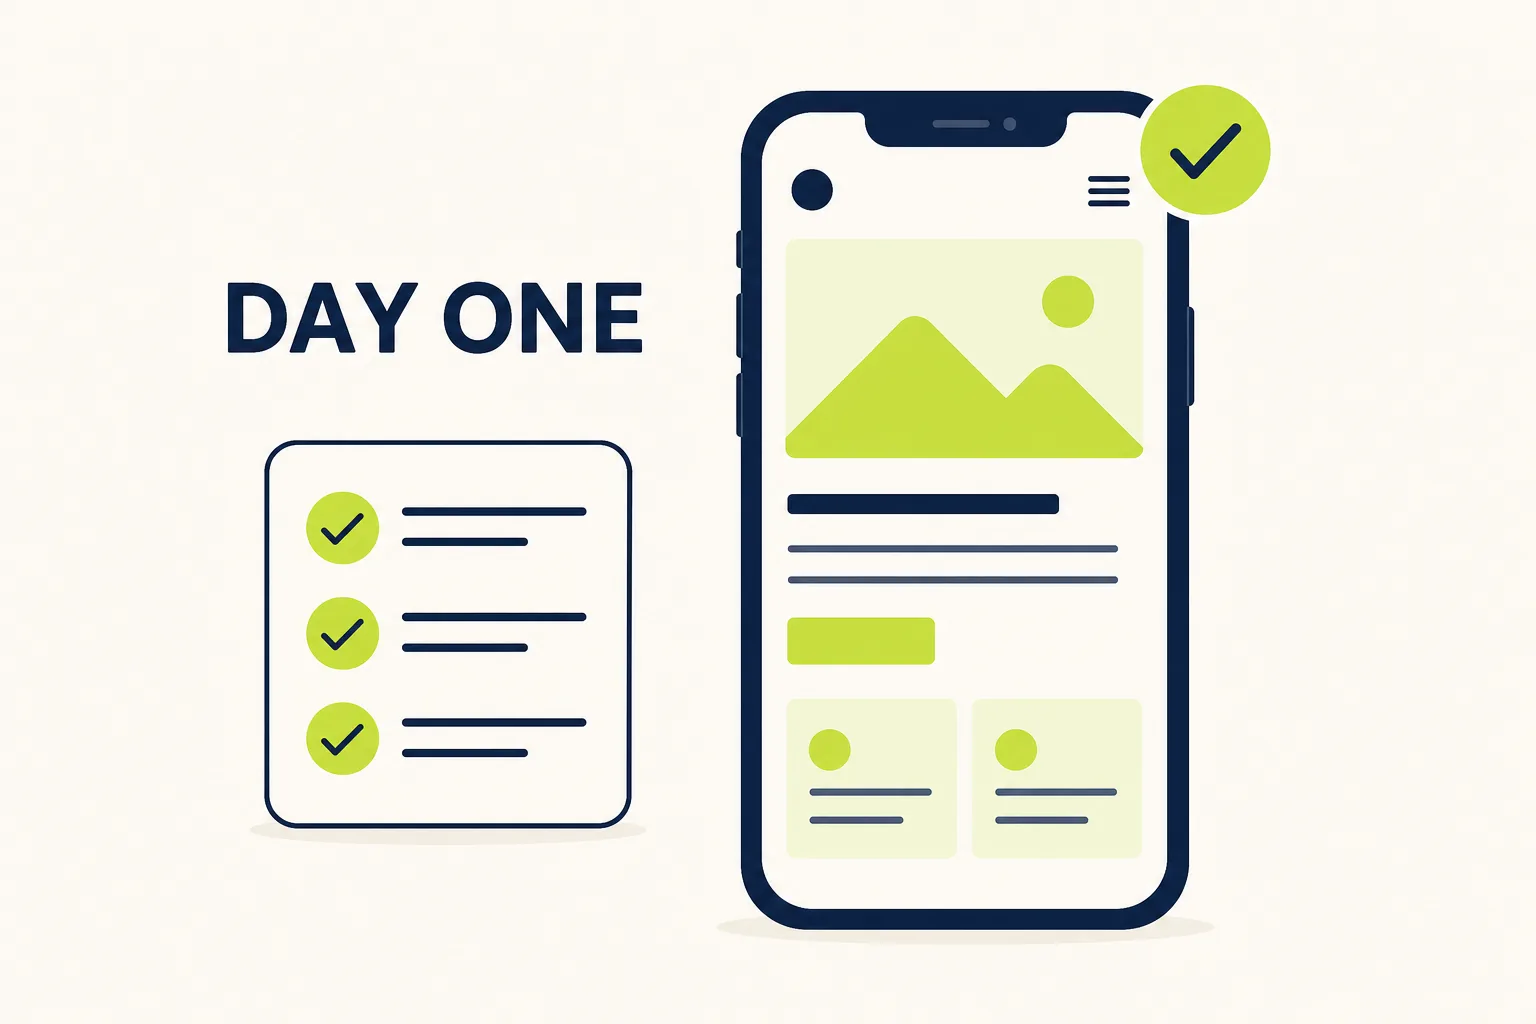
Once the site is live, run this list. It takes about ten minutes. If any item fails, fix it before you tell anyone the site exists.
- [ ] The home page loads on a phone on cellular data.
- [ ] All five pages are reachable — home, about+contact, disclosure, editorial policy, the article. None is a “Not Found.”
- [ ] The disclosure page exists and is not a stub.
- [ ] The custom domain resolves —
www.yourdomain.comandyourdomain.comboth load. - [ ] The
.netlify.appfallback still loads. - [ ] HTTPS shows a padlock; the certificate is valid for your domain.
- [ ] One other person can open the site on their network.
The deployment is not done until all seven are checked. Each item costs a minute and prevents a problem that costs an hour to diagnose later.
The Next Step
Your next step is the checklist above — run it now, while the deploy is fresh. The most common pause is the DNS step: if www works but the bare domain doesn't, add the A record Netlify showed you; if neither works, copy the value fresh from Netlify and paste it again. If you've been at it more than an hour, take a break — DNS propagates on its own schedule.
Want the five files ready to deploy, with the disclosure and editorial policy already built in? The Affiliate Agent Kit produces the complete site folder and walks you through this exact deploy as Phase 7 of the master system. The Learn hub has more on the day-one work after deployment, and our domain-buying walkthrough covers the step just before this one — because the domain is the only part of this process that has to be in your name.
Results vary. Affiliate marketing involves effort, learning, traffic acquisition, and compliance. Earnings are never guaranteed.
Results vary. Affiliate marketing involves effort, learning, traffic acquisition, and compliance. Earnings are never guaranteed.